
This site offers resources, inspiration and how-to’s for everyone to use the arts to protect our climate and communities and resist injustice.
Our goal is to help massively utilize arts organizing—visuals arts, performance and music—and integrate it into the heart of our organizing, campaigns and mobilizations to strengthen movement-building, innovate new forms of resistance and to win positive change.
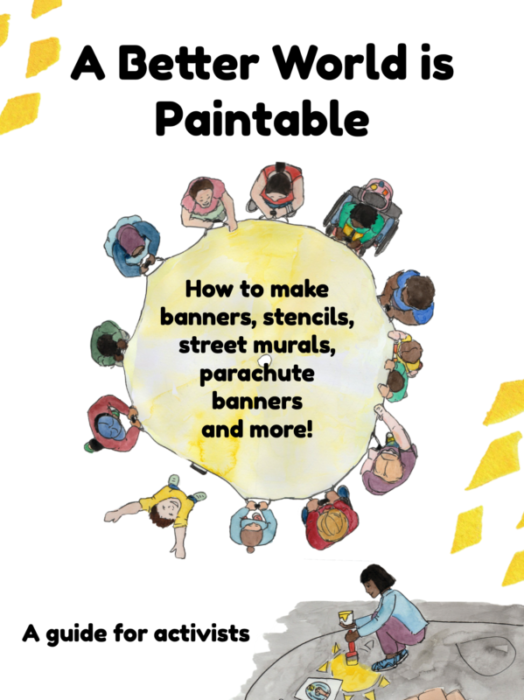
Drawing from decades of street art for change, we’ve taken the most asked about tools and put them into one beautiful free booklet of practical “How To’s.” Learn how to make a banner, paint a street mural, create flat puppets, and many more. Made to print, share, copy, pas around…